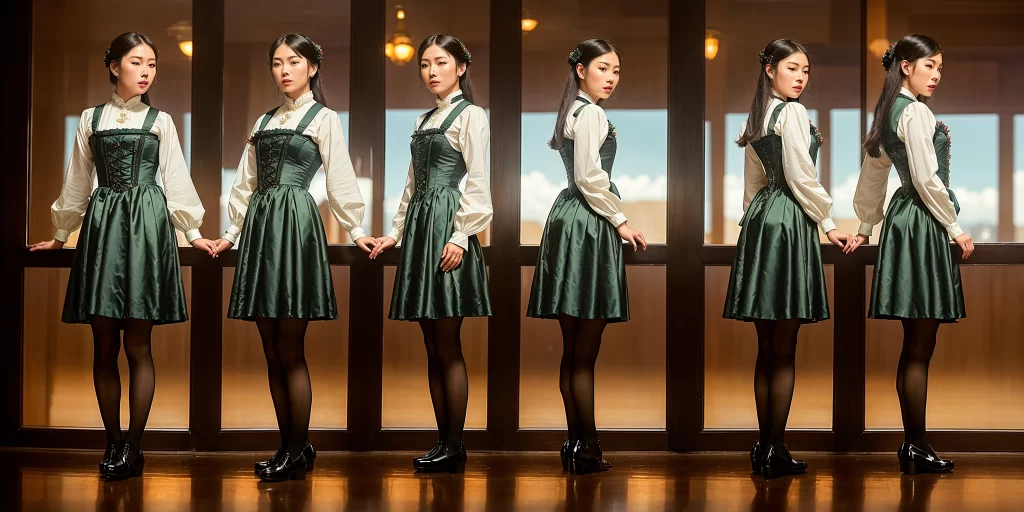
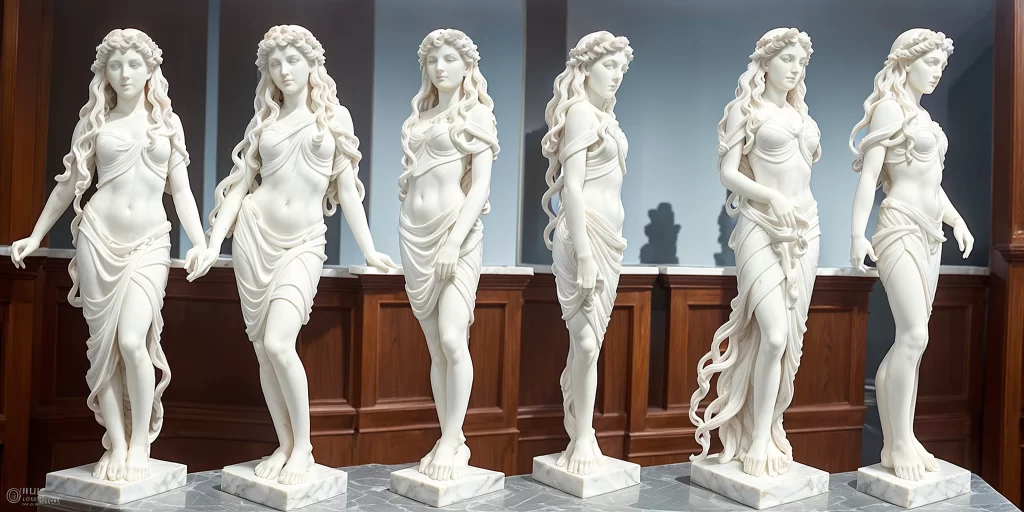
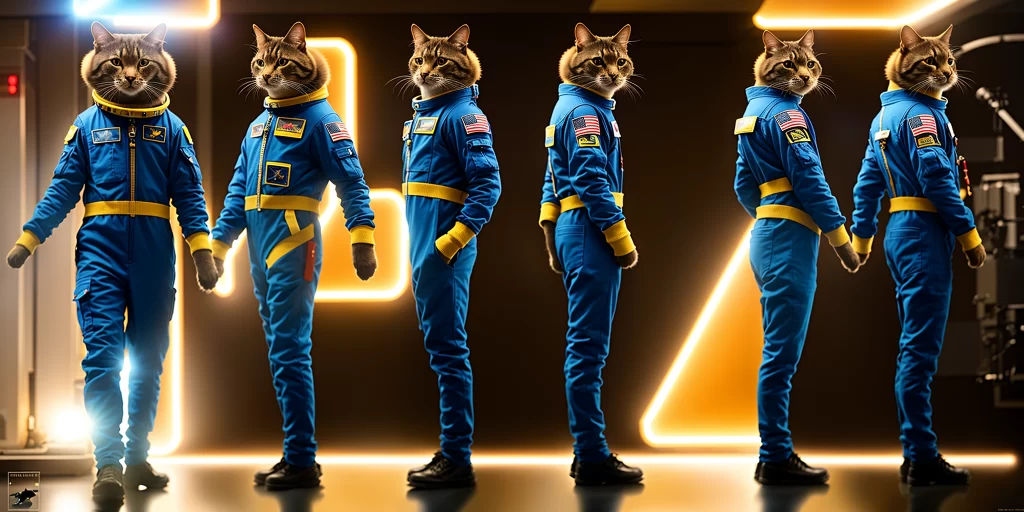
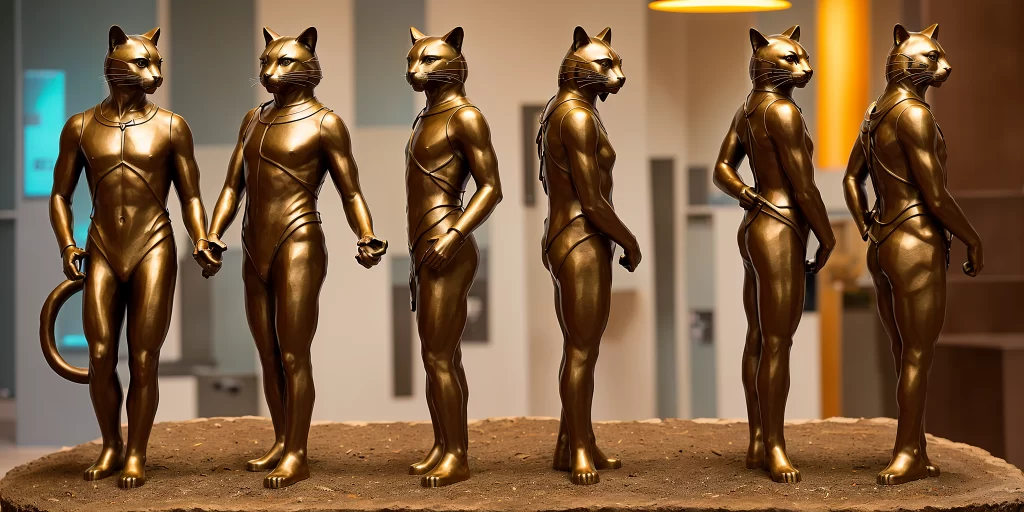
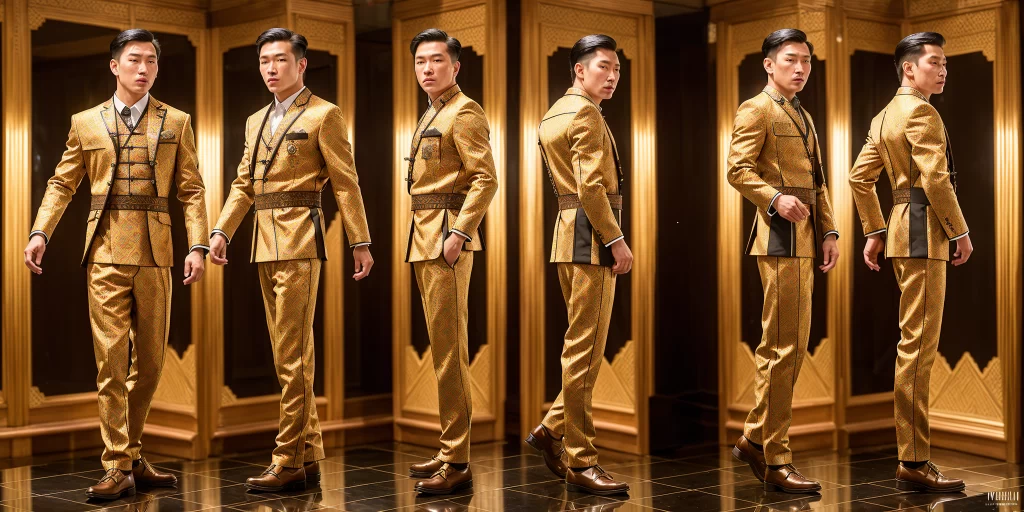
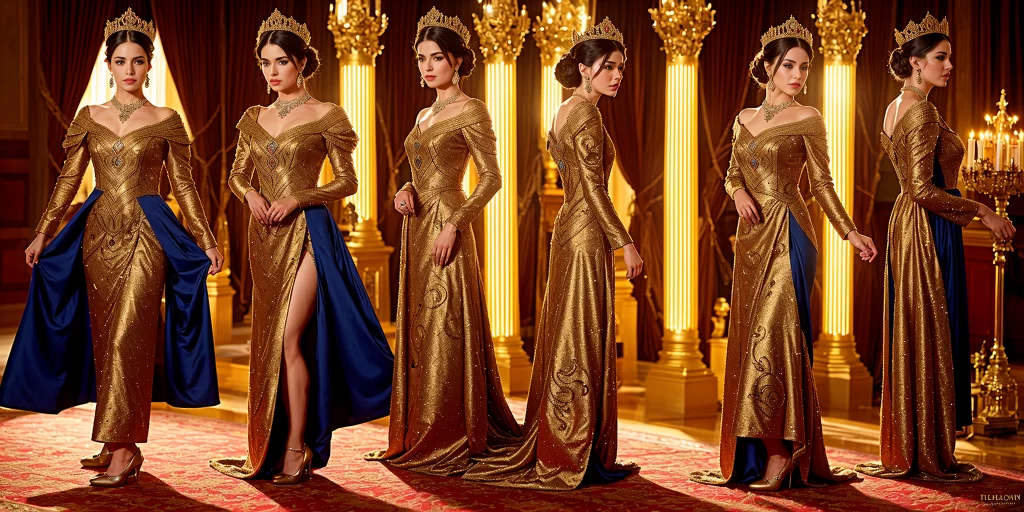
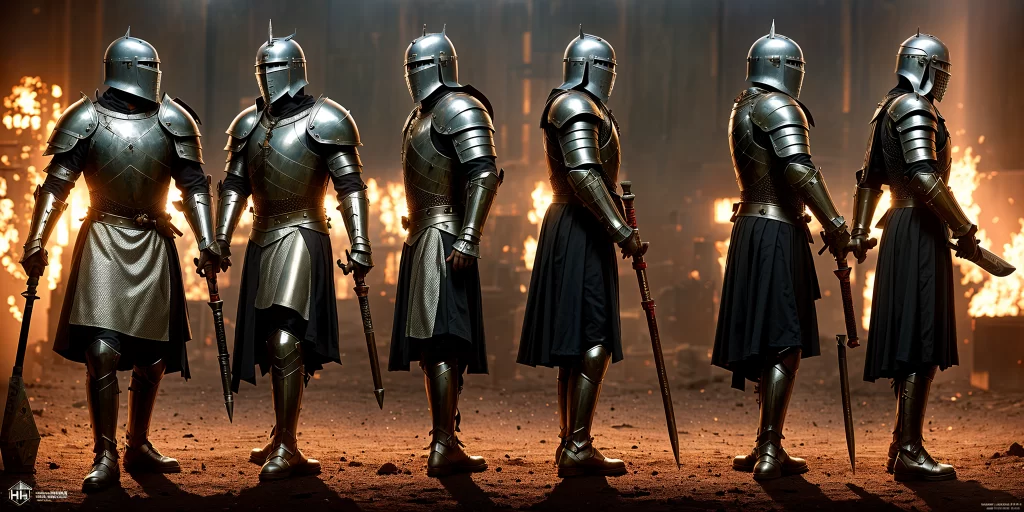
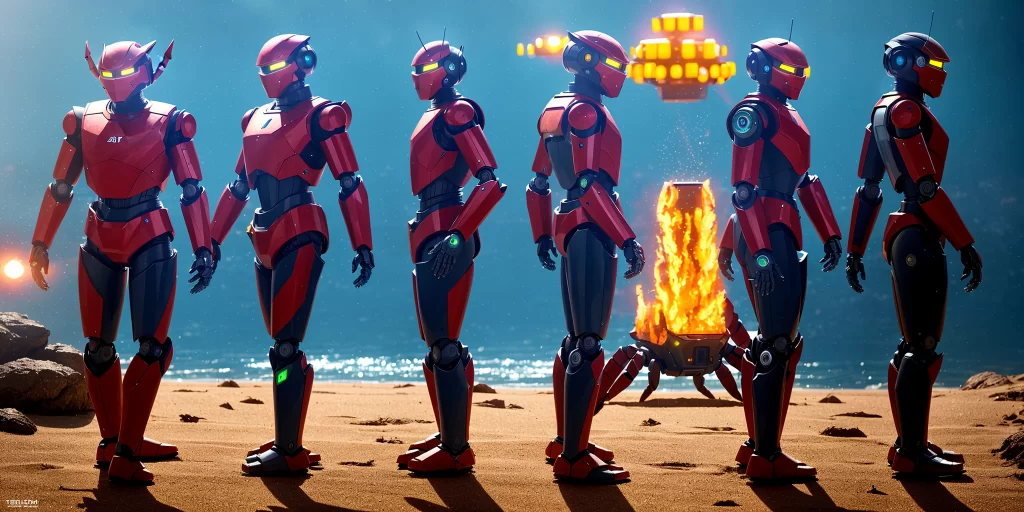
One of the largest drawback to image generating AIs is that it is hard to get a consistent character. In this article I’ll explain how I have used a set of tools to overcome that impediment and make an AI character generator.
Getting a set of six views of the same character
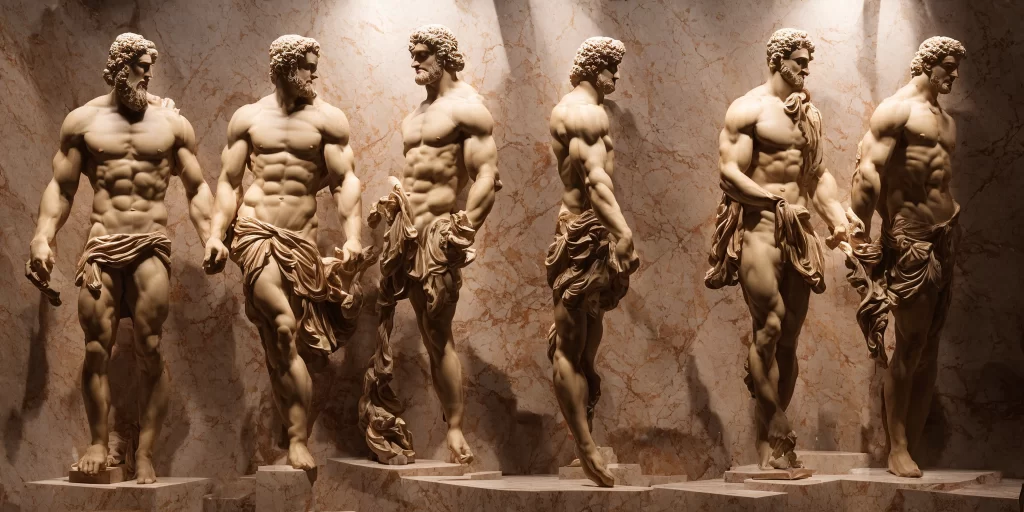
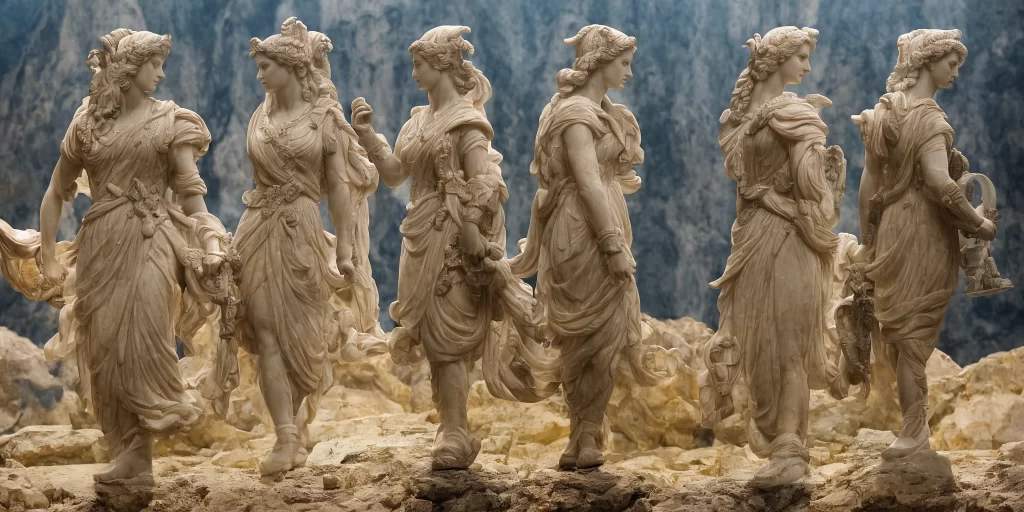
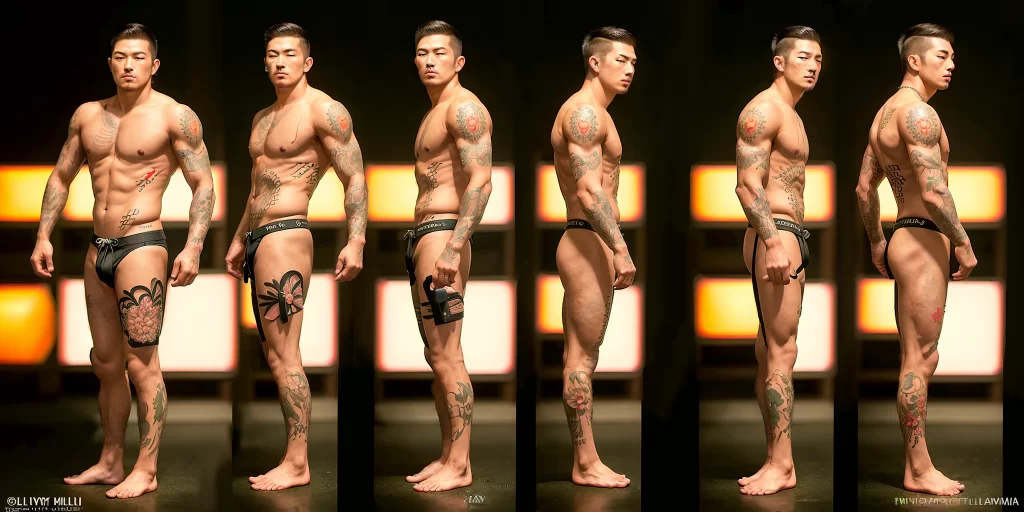
Below is a set of images I generated using Stable Diffusion 1.5, Char Turner V2, and Control Net with Open Pose. These images have not been edited, and were generated during a single run. I’m using runpod.io servers, as it is much easier than trying to run Stable Diffusion locally.
For these images I used the model dreamlike-photoreal-2.0. There are still issues, and I tried to push the flow to the limits. The character doesn’t need to be truly human, but it helps. The tattoos also don’t match perfectly, and things tend to swap from left side to right side when the characters turn. There are an impressive number of details that do match, such as the necklace and earrings on the queen character. You can also see that the feet get easily turned around, which is driven by the openpose I’m using not being as well laid out as it could be. Openpose doesn’t give joints angles, so when legs are straight they can easily turn around.
Settings for a Good AI Character Generator
The important settings here are:
- Hires. fix, upscaled by 2
- Width : 1024
- Height : 512
- Prompt includes (charturnerv2) and the description of the character
- CFG Scale : 14
- Enable Control Net with Open Pose
- Grab an image of some characters standing in clear and non-overlapping poses, I used the ones from the charturnerv2 examples
- Tiling checked
I found that using Hires. fix led to lots of the differences between the characters being smoothed out, and the upscaling helped with the consistency of the fine details. Tiling also makes the backgrounds more likely to be neutral, making characters easier to cut out, and eliminating noise in later steps. Without tiling, the left and right side characters tended to be somewhat different from the central characters.
Once you get your set of poses into an openpose image, you can just use that instead of generating it fresh each time. To do this just look at the second image that was generated on any run. It will look like this:
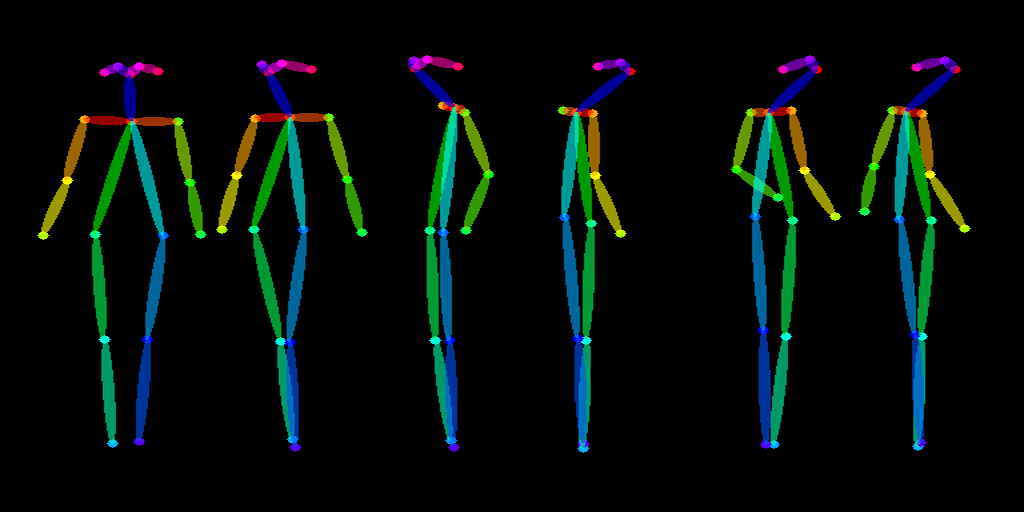
Just swap the preprocessor to ‘none’ instead of openpose if you are using a posed image directly.
Now we drop in a new pose
The six poses of the same character are now a great starting point, but what if we want that character in a different pose? Well we can take the initial picture and use it for an inpainting.
We first choose 4 of the 6 characters and put them along the sides of a 1024×512 image.
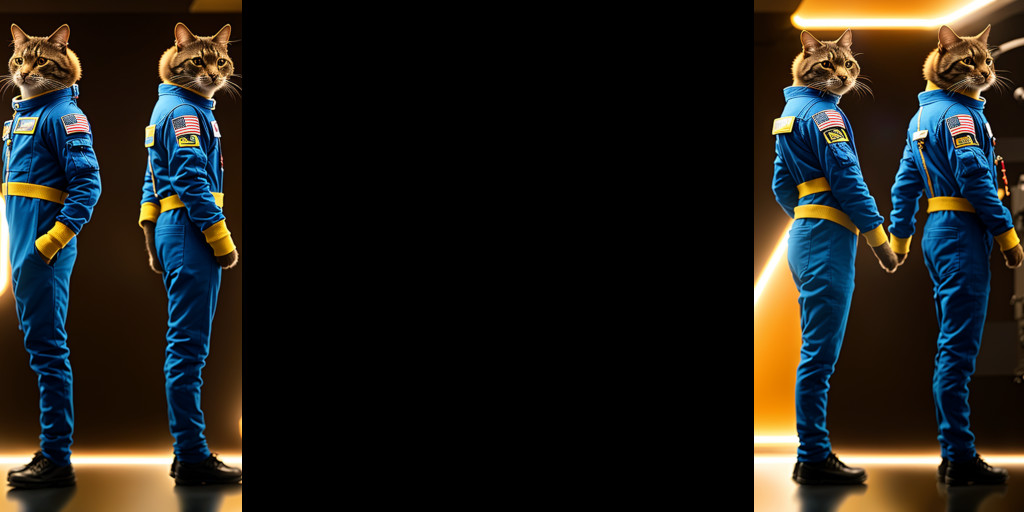
And we need a corresponding mask for the inpainting.

And we use the (charturnerv2) in the prompt again with InPaint masked content set to latent noise and denoising strength set to 1. We also want to use an inpainting model. I’m using sd-v1-5-inpainting.
Now we need a pose for our character. I’m using a pose in the wrong aspect ratio, but it still works if we have the setting in ControlNet of Scale to Fit (Inner Fit). If you want exact control you can make a pose in the correct aspect ratio (1024×512). Here is the pose I used.
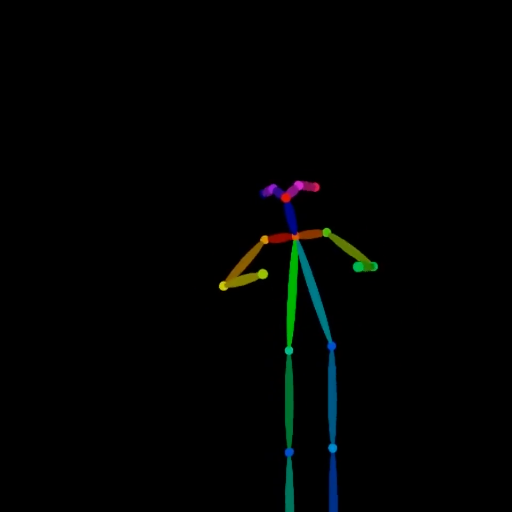
And the output with these settings looks like this. The charturnerv2 hates empty space, and will fill it with something that is kind of like your character. You can also tell that the model I used to generate the initial image isn’t a match to the inpainting model I used. If you do have a matching inpainting model it will turn out much better. These tools also need humanoid figures. You can see that even with the cat headed astronaut it will do get close to the matching view.
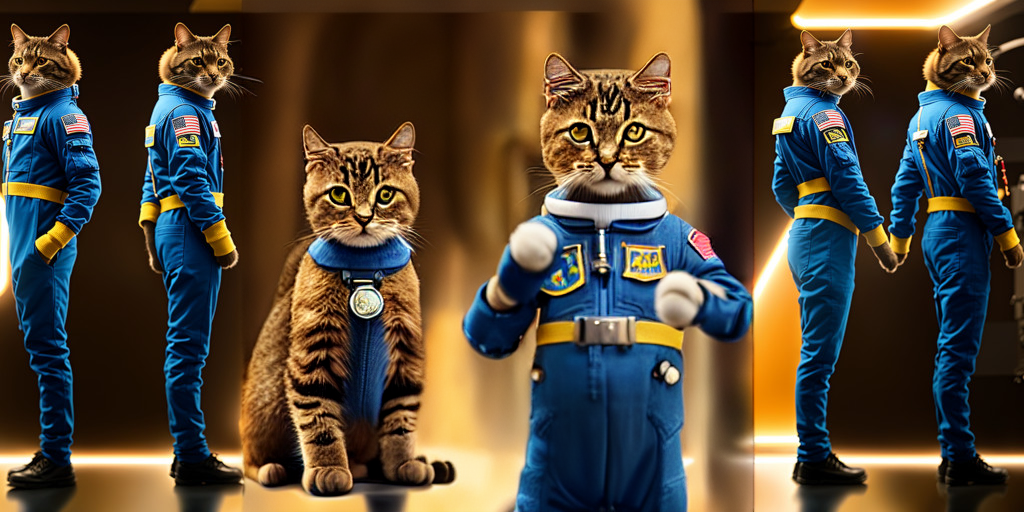
Something this opens up is creating a number of images in different poses, then being able to train a custom embedding or model on the character. You could create a whole cast from scratch. Hopefully now you can set up your own AI character generator. We’d love to know what you make with it.
