A Stable Diffusion guide from Alex Inglewood
Stable Diffusion really struggles to produce single images that depict multiple separate elements and characters. Frequently, AI-generated characters also get lost in the background, with their hands and clothing often blending into other elements in surreal and deformed ways. This limitation can be a big problem for me when I make the images to accompany my original short stories because I want a character that has distinguishing features set cohesively in a detailed background that matches the text of the story.
In my last article, I discussed how to only use in-painting to insert an AI character into an image. I have also previously discussed how NOT to use img2img to insert an AI character. While in-painting has a lot of advantages, after much experimentation I have decided that rendering elements separately with the Stable Diffusion Web UI and then using a third-party image editor such as Photoshop or GIMP is by far the fastest way of getting consistent and high quality results. The process I am about to describe is a faster and much simpler version of the video tutorial produced by Albert Bozesan.
Making a Character with AI
With Photoshop, it makes sense to create the AI character first and then composite it into a separate background image. This is the exact opposite order from in-painting, for which I generated the background image first and then added the character afterwards. The advantages of using Photoshop will hopefully become clear as I walk through what I did.
For the character of Rodriguez in my story True Justice, this is the prompt I used in Stable Diffusion:
Wide angle portrait, cell shaded comic of a (frowning) chibi ((police officer)) sitting behind a (desk) with (stacks of paper). ((Flat background)), subtle colors, black outlines, ((post grunge)), concept art by josan gonzales, wlop, james jean, victo ngai, david rubin, mike mignola, deviantart, art by artgem
The “flat background” part of the prompt is key here. That told Stable Diffusion to generate an image with a plain, single-color behind the character, which makes it very easy for me to use selection tools such as the magic wand to cut out Rodriguez later.
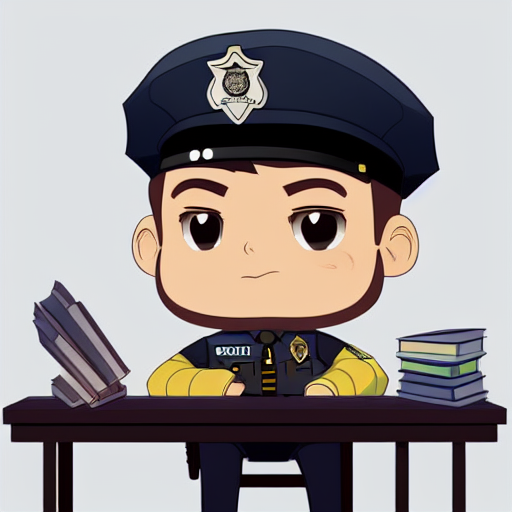
I will admit that I generated dozens of different characters until I got the one above, but I think that is a major advantage of this method. Had I tried to also do the background simultaneously, it would be highly likely that elements I cared about would be dropped, or SD would render them in a deformed manner that blends the foreground with the background.
The cell shaded comic art style plus the plain background has several advantages:
- Without a busy background, SD is more likely to render anatomically correct and distinct body parts
- With a simpler prompt that focuses only on the character and a couple foreground elements, I am much more likely to get a combination I want.
- It’s easy to remove or edit specific elements in Photoshop afterwards. For example, in a few steps you will see that I will remove the odd stack of books on the left which Stable Diffusion probably intended to represent a desk phone.
Making the Background in Stable Diffusion
In the story, the main character goes to meet Rodriguez in a police station. Using a similar prompt to the one I used for Rodriguez, I got a pretty decent looking background, but stylistically it did not match the cute cartoon look of the character. Since I already knew what the character looked like, I was able to use img2img, a CFG of 14 and a denoising strength of 0.3 to get a style and color palette that better complemented Rodriguez:
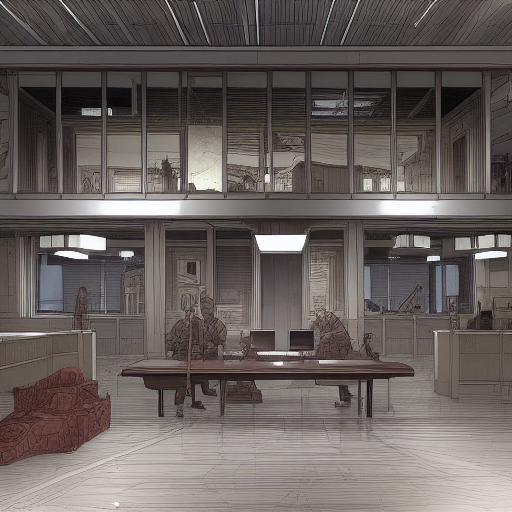
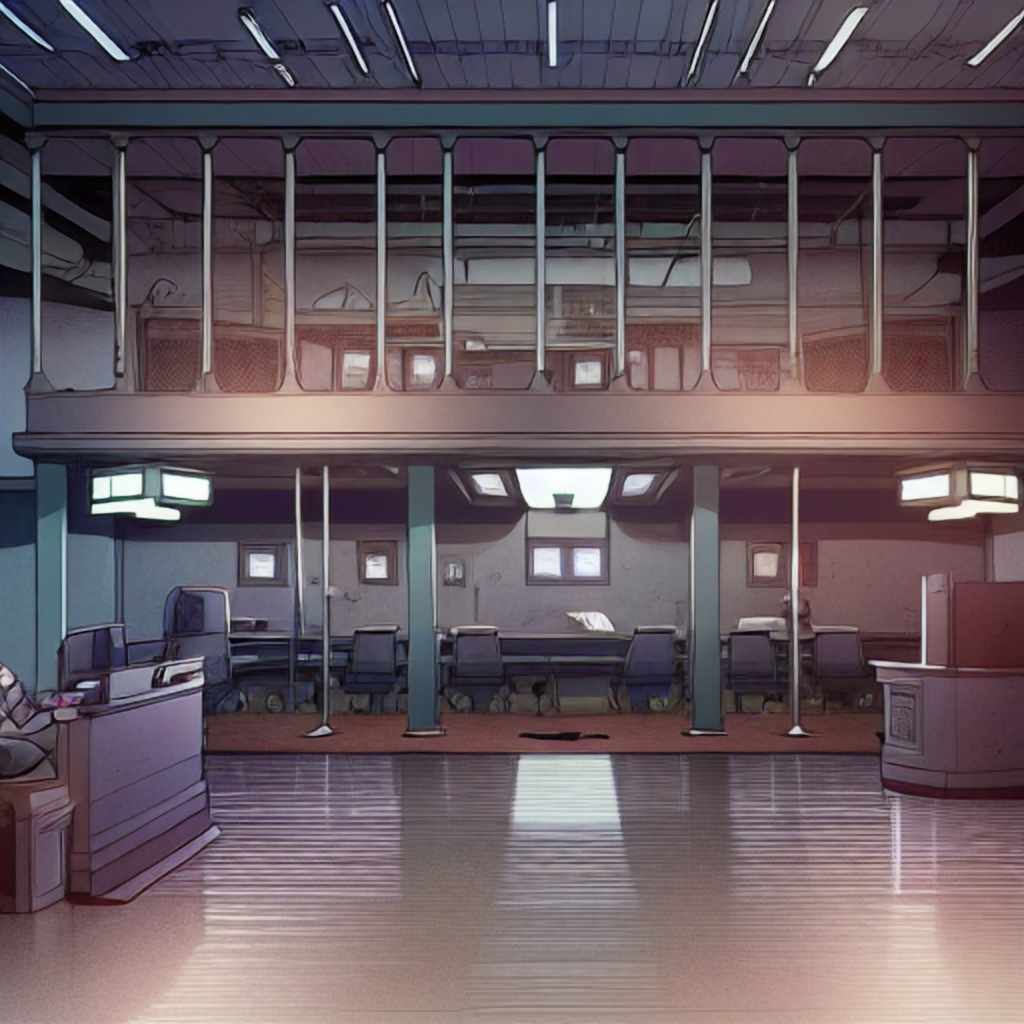
To generate the above, I used the following prompt:
Establishing shot of the interior of a police station. Subtle warm colors, black outlines, intricate, highly detailed, post grunge, cell shaded cartoon concept art by josan gonzales and wlop, by james jean, victor ngai, david rubin, mike mignola, deviantart, art by artgem
Using Photoshop To Put the Character and Background Together
After getting an AI character and background I like, I used the upscaler to increase the size of both images by 4x, then imported them into Photoshop. Using various selection tools, I created a clipping mask to remove the flat grey background from behind Rodriguez so that the police station would show through. I also removed the diagonal books and used adjustment tools to change Rodriguez’s sleeves from yellow to white.
The below is already looking pretty good, but the lighting on the foreground elements does not match the lighting in the background.
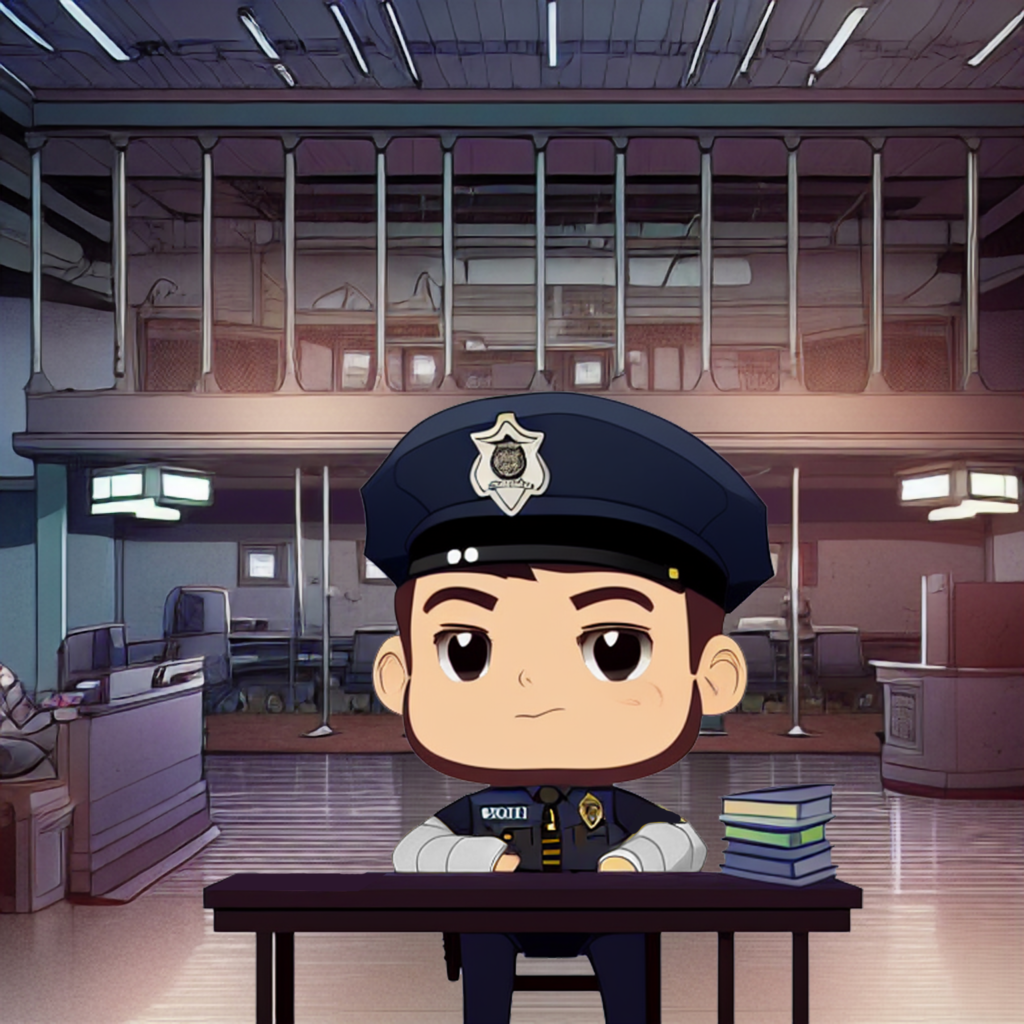
To get everything to match, I put the above composite into Stable Diffusion’s img2img and ran the whole thing again with this combined prompt:
Establishing shot, cell shaded comic of a (frowning) chibi ((police officer)) sitting behind a (desk) with (stacks of paper). Interior of a police station in background, subtle warm colors, black outlines, ((post grunge)), concept art by josan gonzales, wlop, james jean, victo ngai, david rubin, mike mignola, deviantart, art by artgem
I used Euler A, 50 sampling steps, a CFG of 14 and a denoising strength of only 0.15. With such a low denoising strength, SD had very little freedom to alter the overall elements of the images, but had just enough to get them all to match one another:
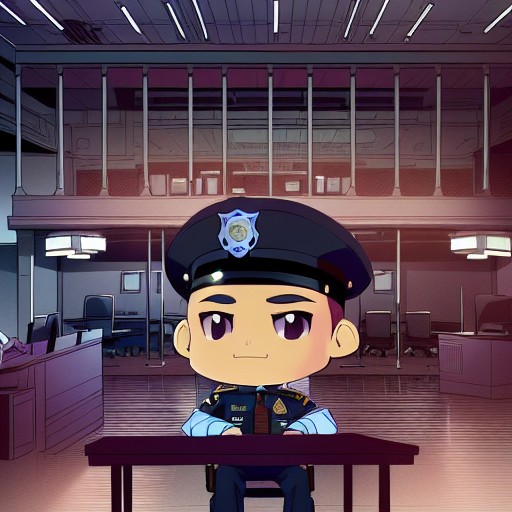
Now the shading on the AI character’s face, hat and eyes match the pink ambient lighting in the background. The table color also changed from a cool tone to a warm tone and SD added a pink shadow under the character to give it a physical presence in the scene instead of floating.
Related Articles
How to insert a character into an image using only in-painting
Using in-painting in Stable Diffusion to make detailed images.