A Stable Diffusion guide from Alex Inglewood
One of the hardest things to do in Stable Diffusion right now is have an even slightly consistent character. I tried to give at least some consistency with character in my latest story with Soleil. The process involves a lot of inpainting, in steps. While the processes is mentioned on some popular youtube channels, I’ll try to detail a bit more than they do. This time I was working only in the Stable Diffusion WebUI and did not use Photoshop.
To get an idea of how to do insertions with Photoshop read about it in my post Using In-Painting for AI Art.
Make the image
To start out we need an image to work with. It helps if that image has at least a character, but it isn’t needed. The starting character is generally better for scale and position than any later addition. You will be able to modify that generic character into the one you want. Here we have a steampunk factory scene. The characters aren’t great, but the important part is that we have a roughly person sized thing in the middle of the floor.
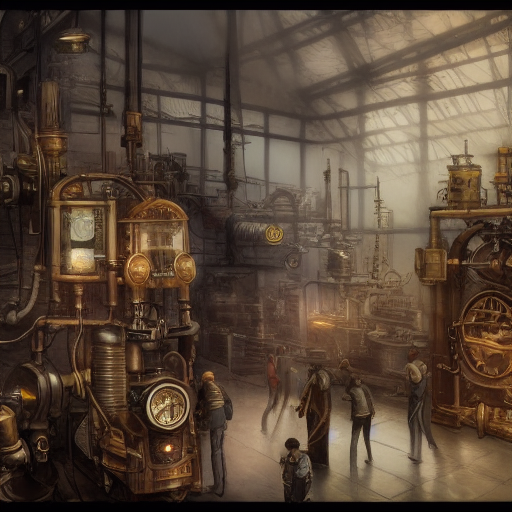
Inpainting to get something closer
The next step is to take that figure and put it through a few inpainting steps. We start out with a high CFG scale, 15, and denoising strength, 0.8. I keep the steps to about 20 here as well. This will let a completely new thing appear, with some of them using the figure sizing and pose a bit. We’ll need at least 20 images to find something reasonable to move forward with. We aren’t looking for the exact right image at this point, just something close.
Also pay attention to how you word the prompt. We should focus on the figure first, then describe their placement in the scene. So my prompt started with “A black woman in a blue dress with white sleeves in a steampunk factory.”
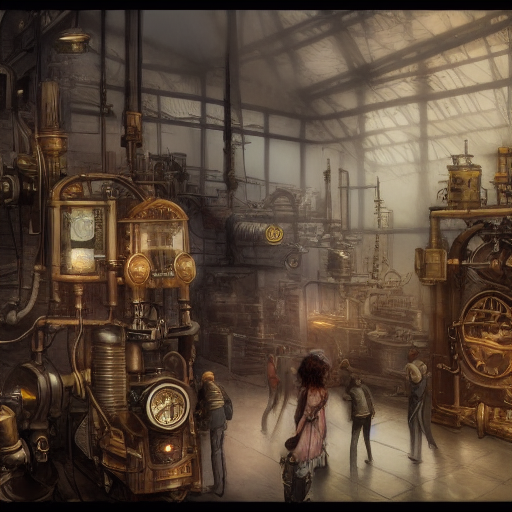
More Rounds of Inpainting
We do this a few more iterations, but each time we get close we can drop the denoising a little.
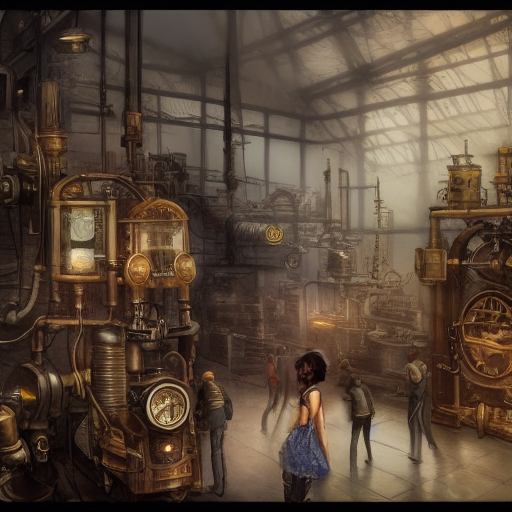
This is still a bit of a mess, but we can continue to refine it. At this point I want to focus on smaller areas at any given step. I focus on the hair, body, and then floor around the dress.
Bringing it Together
We want to finish all the major touches of the character with inpainting before moving onto the final round, a full img2img.
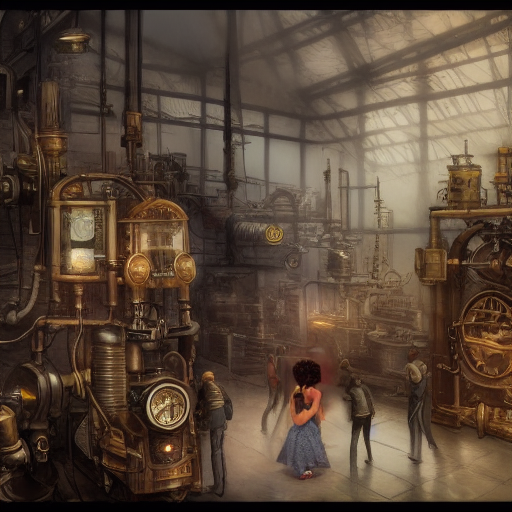
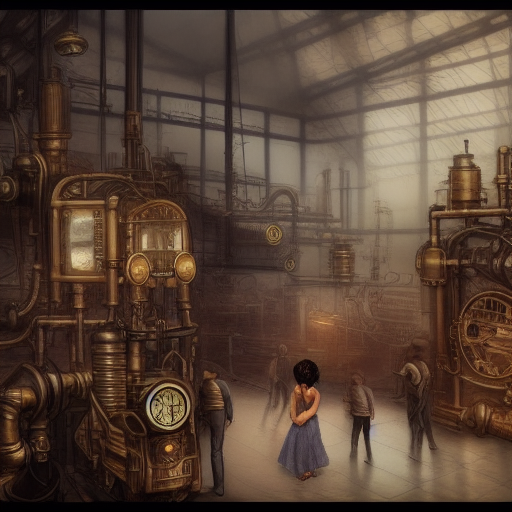
We want to run the image through a low step, low denoising pass on img2img to make it come together a bit more. An optional step after this is to do a masking pass to only grab the parts of each image you want (original txt2img, the inpainting final, and the img2img final).
Textual Inversion
I recognize that the ultimate step is one we haven’t taken on this blog yet: textual inversion. If you have a character defined in a textual inversion model then this would be the point you would grab that, inpainting to get the exact character
Related Articles
How to insert a character using in-painting.
How to use in-painting in Stable Diffusion to make detailed images.
